Mastering How to Tie Shoelaces for Ballet Shoes: A Step-by-Step Guide
Ballet dancers move with grace, precision, and elegance—and every detail matters, even how their pointe shoes are laced. Learning how to tie shoelaces for ballet shoes isn’t just about securing footwear; it’s about comfort, alignment, and professional presentation. Whether you’re rehearsing at home, performing on stage, or preparing for your next dance recital, mastering this skill ensures your pointe shoes stay securely fitted throughout dynamic movements.Cotton, elastic, satin, or hybrid ribbons—ballet shoes come in various designs, but the goal remains the same: a tidy, stable lacing system that supports your foot and ankle during pirouettes, relevés, and grand jetés. The process is intentional, but simple once you know the rhythm. Let’s walk through the proven steps of how to tie shoelaces for ballet shoes, so you can focus on dancing—not fixing untied laces.
Start with Even, Straight Laces
Before anything else, ensure your lace ends are evenly cut. Uneven lengths cause slippage, uneven tension, and discomfort—troublesome issues when executing fast footwork. If your laces differ by more than half an inch, trim them first until balanced. This attention to detail prevents frustration mid-performance and supports proper foot alignment.The Foundational Cross: Right Over Left
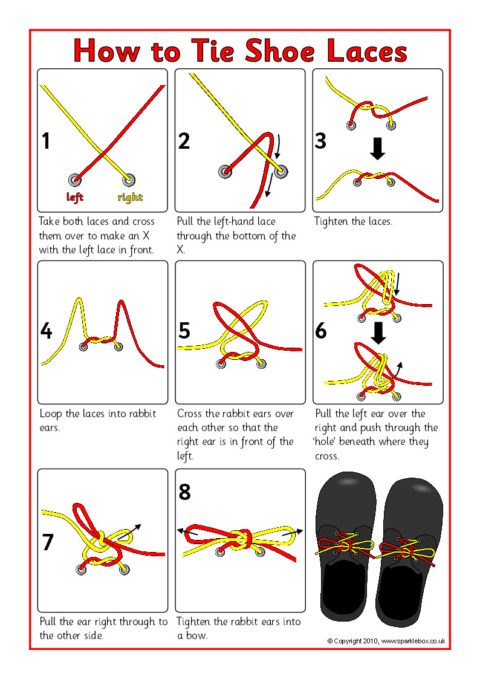
Take the right lace and cross it cleanly over the left lace. The crossover sets the stage for a secure knot. Position the crossing point just above the ankle—the ideal spot for rhythm and control. This foundational hold balances tension and keeps your lace system aligned, preventing awkward bends or twists during movement.Looping for Structure: The Bow That Holds
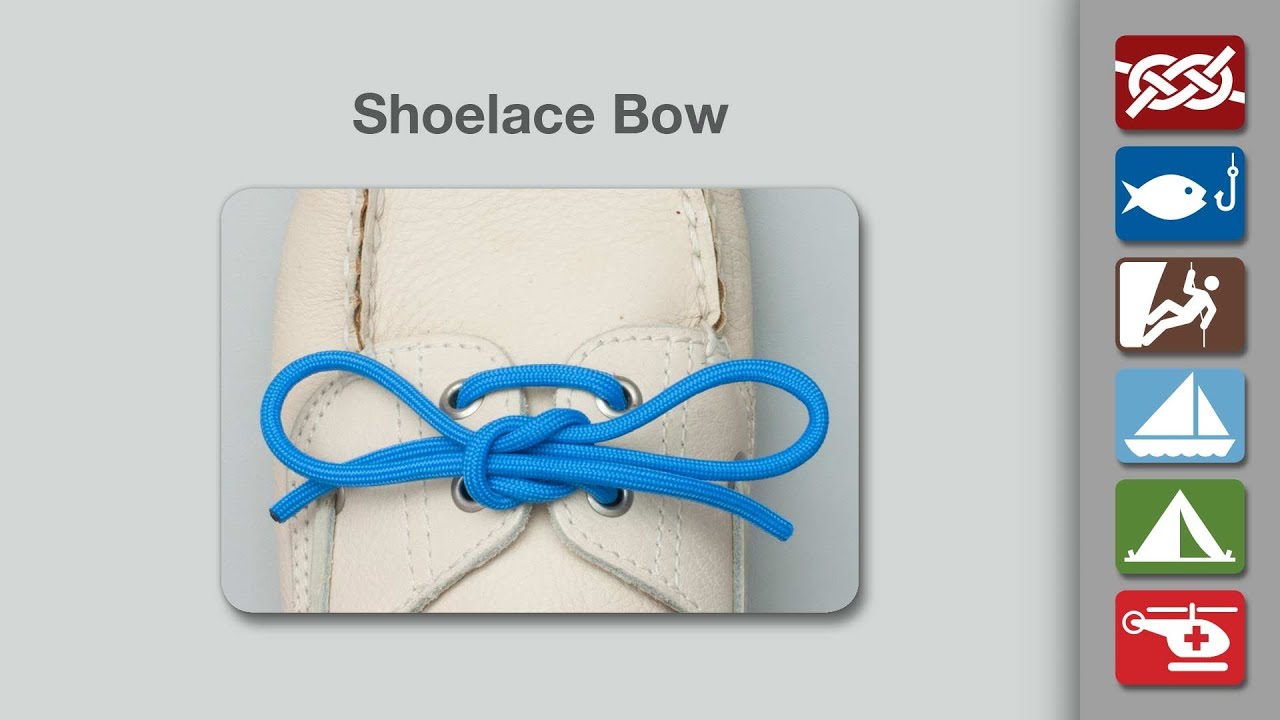
Now, thread the right lace through the loop formed above the left lace. Gently pull the loop tight but not tight enough to restrict circulation. The goal is a consistent bow—secure enough to stay in place, yet flexible enough to move naturally with your foot. Imagine creating a knot that breathes with your dance, never pulling too hard or slipping silently.Tightening with Precision and Care
Once your bow is formed, slowly tighten both laces in harmony. Begin with the left lace, then gently draw the right lace upward, ensuring even pressure across the knot. Avoid over-tightening—this creates pressure points that interfere with foot mobility and can cause blisters. A well-tied lace holds firm under pressure but yields to gentle stress when you leap, turn, or land gracefully.Secure the Finish Without Discomfort
After tightening, tuck any excess lace neatly under the arch. This prevents tangling and maintains a clean silhouette. Your ribbon should feel secure yet unobtrusive—essential for unrestricted motion. If the knot shifts during warming-up or practice, don’t fret. A quick re-tie is all it takes to restore stability.Variations and Mastery: Beyond the Basics
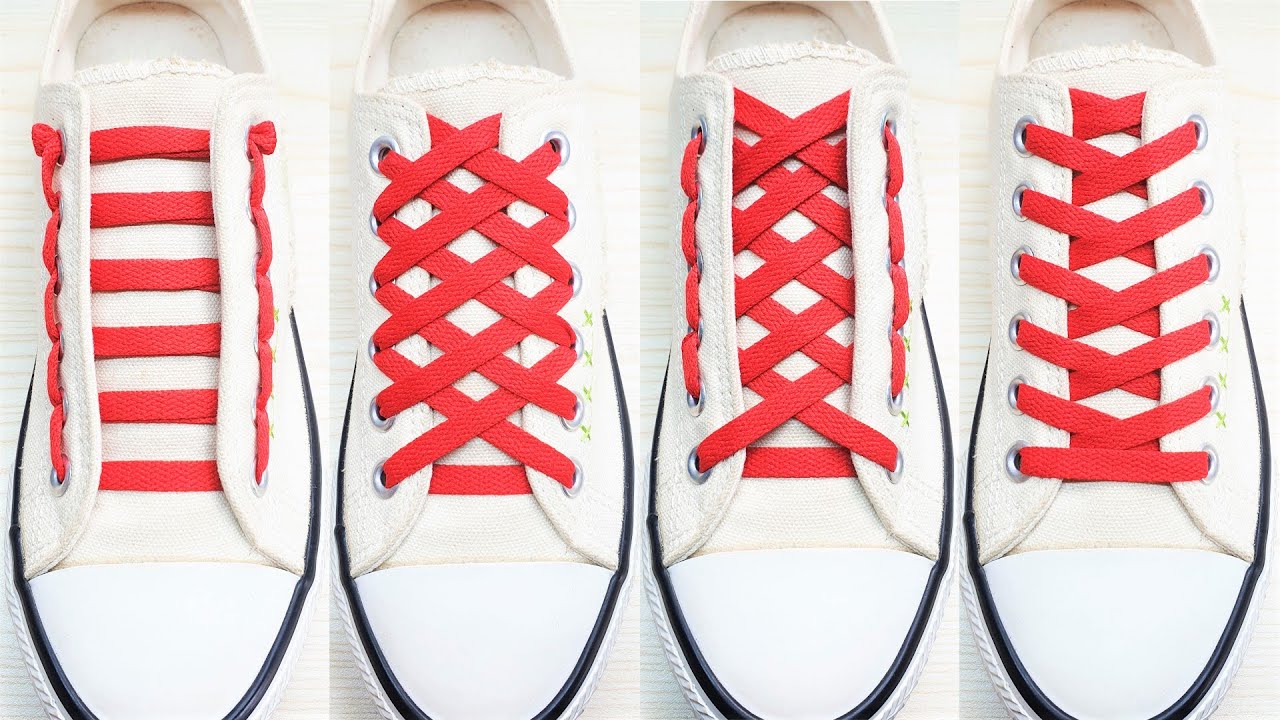
While this method works for most ballet shoes, dancers often adapt based on ribbon type and shoe design. For elastic ribbons—common in contemporary pointe wear—secure each lace with a double knot or reinforced loop. Satin ribbons, prized for elegance, benefit from hidden finishes woven neatly into the back heel. And crisscross lace patterns offer superior grip, especially for high-impact pointe techniques.Pro Tips for Flawless Lacing: *