Simple Instruction for Tying Shoes for Young Children: Master the Basics Today
Tying shoelaces is a valuable life skill every child should learn, but it doesn’t have to be complicated. For young children, mastering the art of tying shoes starts with simple, clear steps that feel fun—not frustrating. This article offers a simple instruction for tying shoes that parents and caregivers can use to guide kids with patience and confidence. Whether your child is 4 or 7, using structured, age-appropriate methods helps build both coordination and independence. Let’s explore how you can make shoe-tying a joyful, achievable milestone.Why Learning to Tie Shoelaces Matters
Learning to tie shoelaces is more than just finishing a shoe—it builds fine motor skills, hand-eye coordination, and problem-solving. As kids grow, mastering daily routines like dressing becomes a source of self-confidence. A pair of well-tied laces sends a quiet message: “You can do this. You’ve got the skills.” That’s why offering a step-by-step guide designed with young learners in mind is essential. The right techniques turn confusion into triumph.Simple Instruction for Tying Shoes: Step-by-Step Guide
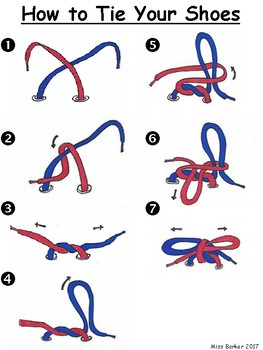
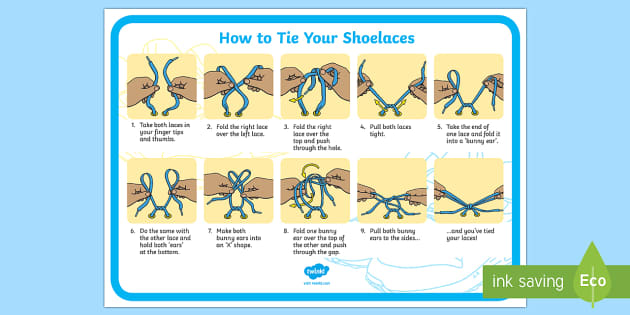
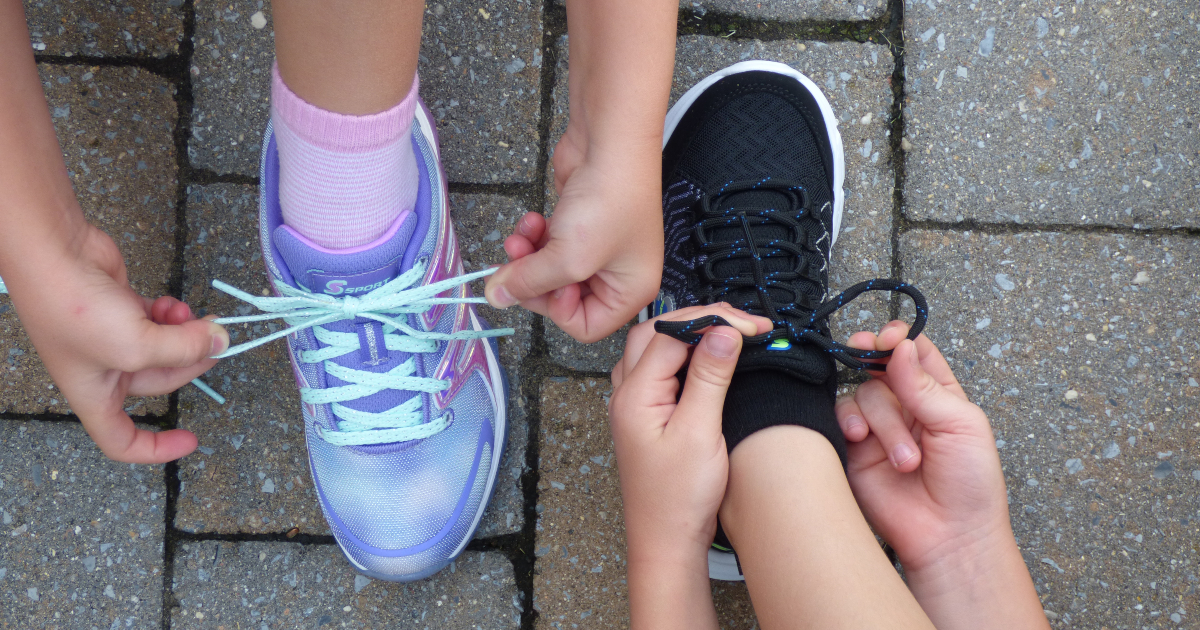
Teaching kids to tie their shoes becomes smooth with a straightforward, easy-to-remember method. Here’s a gentle, kid-friendly pathway using one of the most popular and effective techniques: the bunny ears method. It’s ideal for beginners because it breaks the lacing process into manageable parts. **Step 1: Prepare Two Shoelace Loops** Hold one shoelace in each hand—like giving a quick “hello” to each loop. Flush out a loose loop with each hand so the laces spread outward, creating a cross shape on the shoe’s top. This step sets the foundation for tying. **Step 2: Form the Bunny Ears** Take one lace in each hand and gently pull each end upward into a loop—think of it as making two “ears” rising from the center. This mimics a rabbit’s floppy ears, which is playful and memorable for little minds. **Step 3: Cross and Pull the Ears** Cross the top lace over the bottom lace. Then, grab the right “bunny ear,” pull it tightly through the middle knot, then do the same with the left. Your lace knots begin forming. **Step 4: Tighten and Adjust** Pull both loops down toward your feet. Wiggle gently to check if the knots are secure and your shoes fit comfortably. Adjust as needed—small twists make a big difference. With practice, these steps turn from abstract motions into a confident routine. This simple instruction avoids overwhelming toddlers while giving them control—each successful tie builds pride and skill.More Effective Techniques to Simplify Shoelace Tying
Beyond the bunny ears, other simple strategies can boost success. One popular method, popularized by educators and therapists, is:- One-hand Fly Known Method: Use one hand to fold and loop one lace, then let the other lace cross freely. This reduces coordination demands, making it easier for beginners.
- Color-Coded Shoelaces: Using different colored laces helps kids visually track lacing progress, reducing confusion.
- Larger, Easier-to-Grip Shoelaces: Thicker or softer laces reduce frustration and improve control.
- Step-by-Step Visual Aids: Large printables or illustrated guides act as constant helps during early practice sessions.
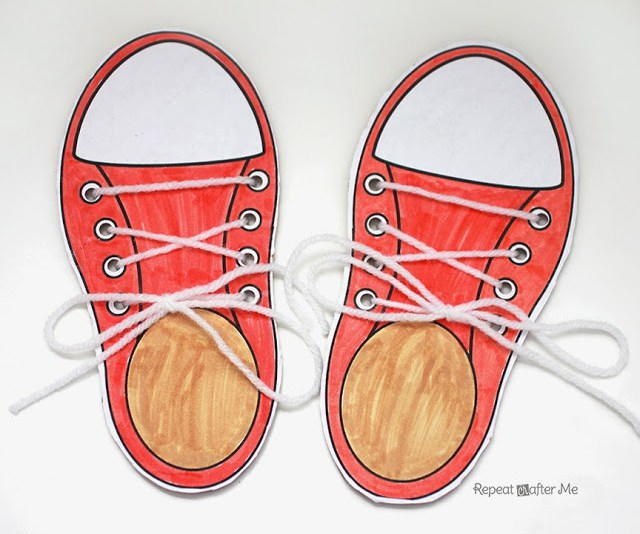
- Practice On a Target Practice Pad: A mat with lacing guides lets kids repeat steps in a distraction-free zone.